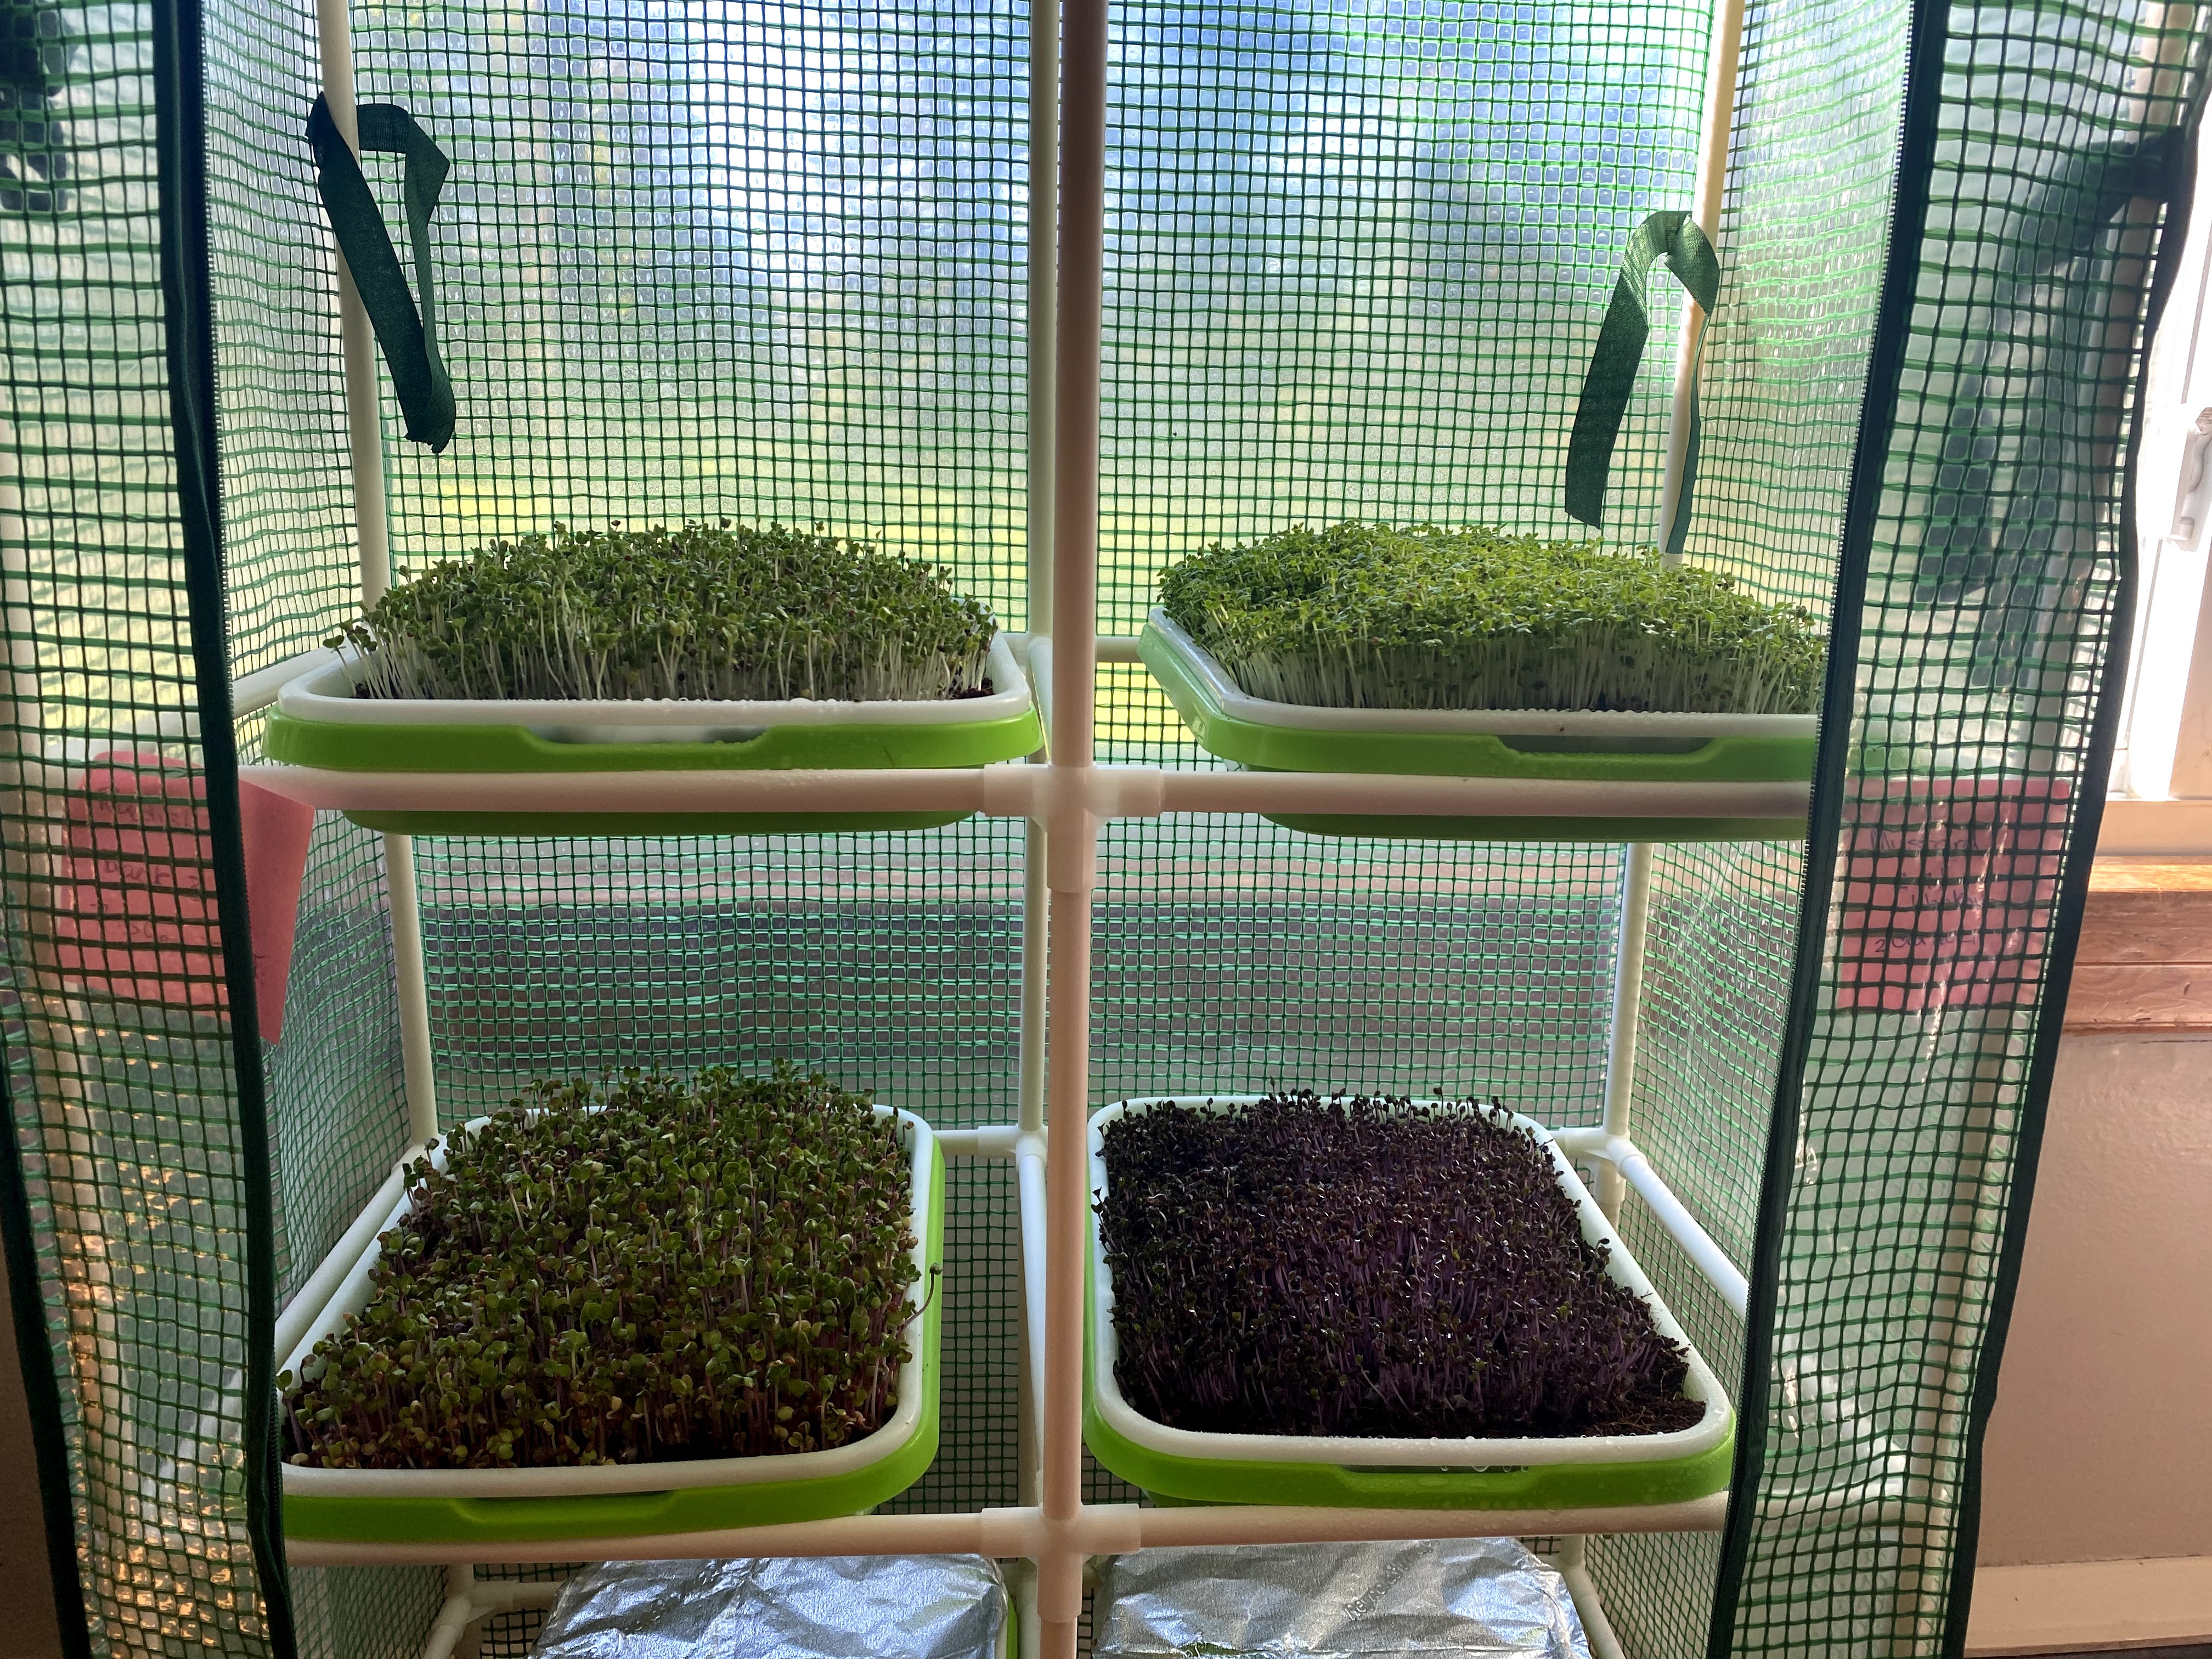
My first endevor to sell to the public is underway! This has been such an interesting journey. Our town started a farmer’s market this year. Although it has been incredibly successful, the vegetable vendors have been lacking. So I decided to see if microgreens could be a hit.
Currently underway are cabbage, raddish, broccoli, mustard, basil and beet. We also started a batch of sunflowers and cilantro yesterday, but those might not be ready in time for the market.

Supplies
As this was a fesibility run I really wanted to keep my costs down. I figured I would share in case someone reading this wants to get into microgreens but doesn’t want to put a lot of capital up front.
- This shelf with growing trays is quite an inexpensive start up. I ordered mine with a cover but it doesn’t seem to be available anymore. My husband has said he has seen the same shelf used for mushroom growing. If I continue with microgreens and get a more stable setup, this shelf will be used for that next.
- Coco Coir mix which comes in a brick that you rehydrate. I got a big brick of this at my local Agway. The link is to a smaller brick if you don’t have room to store as much material.
- These strainer bags for soaking seeds. I’ve found that fewer varieties need soaking than I realized. These are 5 1-gallon bags which should be plenty for small scale grows.
- I have used both True Leaf Market and my local Agway for seeds. I hit a little snafu with our first order and True Leaf’s customer service knocked my socks off. I recommend their Basic Dozen Microgreens Seed Assortment
.
- Misting spray bottle – you can probably pick these up at your local store
- I used aluminum foil I had on hand as my blackout covers.
- These plastic containers for sales display purposes. If I continue with this journey, I want to look into more eco friendly options. I want to make a great first impression at the market, and hopefully have customers this winter.
- Labels for your containers. I’ve used both Sticker Mule and Zazzle for these. You can also join in the fun of @Farm_Sticker_Swap on instagram if you have a Farm sticker made.
Note: this list contains affiliate links and referral links to sticker mule and zazzle. I may earn a tiny comission if you purchase from these links. I encourage you to support your local businesses if you can find something locally.

Getting Started
When I first started considering microgreens I felt completely overwhelmed. Did I want to do soil or hydroponic? Which seeds needed to soak? How long did I need to blackout the seeds for?
I’ve been using the microgreen resources at bootstrap farmer especially useful. The Seeding Cheat Sheet was the lowest stress way to get started once I had selected the seeds I was planning to work with.
New to microgreens? Let me know how your first attempts go.
An old pro? Feel free to drop some advice in the comments.
